
Gone are the days when users will have to go through the hassle of clicking the product or website link in your bio to buy your merch. Your followers can easily purchase your exclusive merch in just a few clicks, starting right from the post itself!
If you’re planning to release your product line soon, check out this guide to start your Instagram shop.
What is Instagram Shopping?
Simply put, Instagram Shopping is a way for the giant social media platform to allow users who meet their requirements to have a storefront on their Instagram account.
How it works is that users will need to set up an Instagram shop; from there, they can tag their posts with products. This will make it easier for people to tap the shopping bag icon of that post, and then they will be redirected to the item they want to buy — all without leaving Instagram.
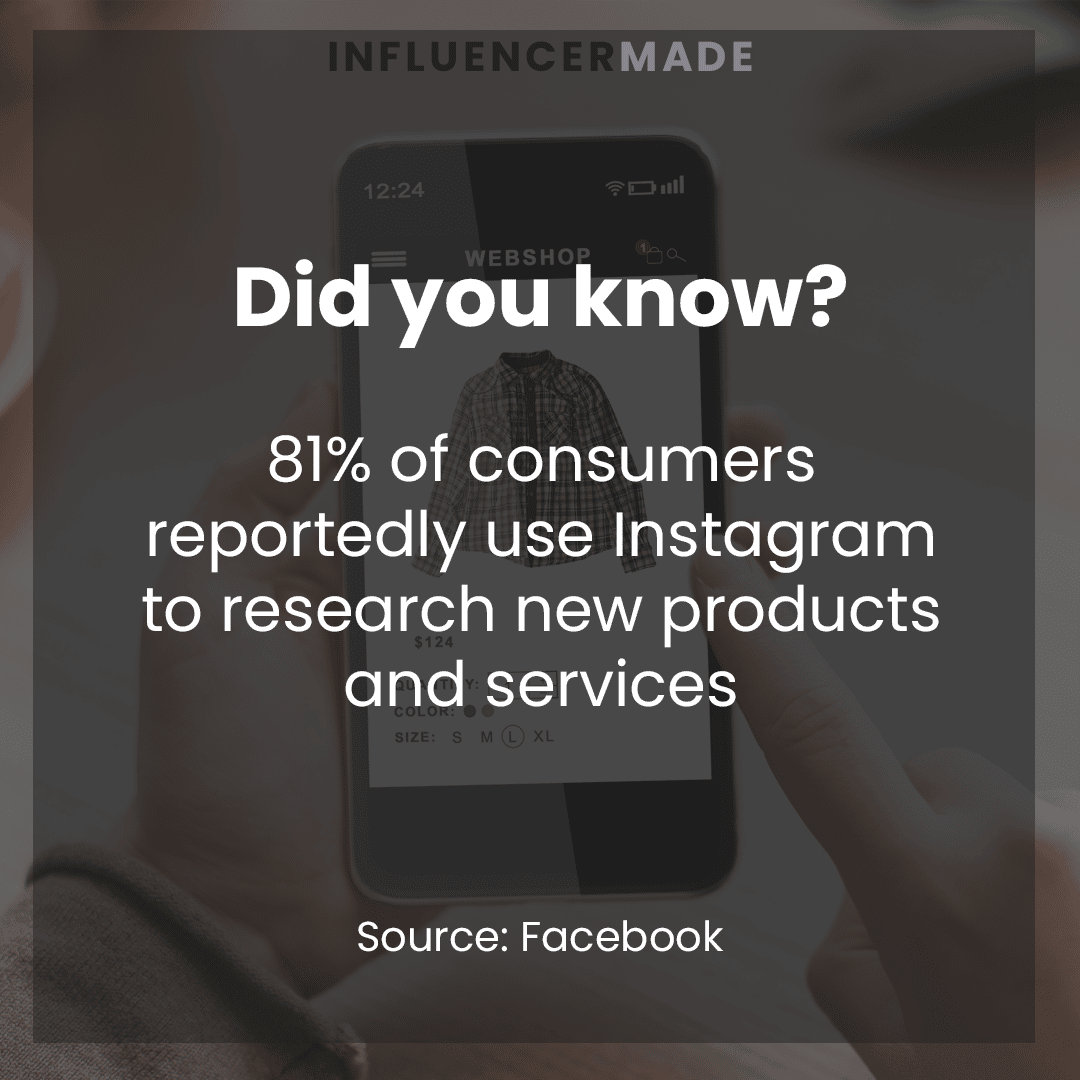
If that statistic doesn’t convince you to put up a shop on Instagram already, here’s another one that will:
Needless to say, this makes Instagram one of the best avenues to sell goods.
Who’s Eligible for Instagram Shopping?
Unfortunately, setting up an Instagram shop isn’t much of a straightforward process. Not everyone can start their shop on the platform right away. Instagram users must meet the following requirements before they can apply:
-
You must be in any of the supported markets to submit an application.
Even if you set up VPN to bypass geolocation restrictions, you won’t be able to tag products. Location is needed for the product tagging feature, a crucial tool for your would-be Instagram shop.
-
Your shop should represent your own business and website.
You need to be the owner of the account/brand to set up the shop. Moreover, your business should have a registered domain from an eCommerce site like Shopify, a WooCommerce-enabled WordPress website, or the like.
Instagram may also require you to verify ownership of that domain in the future. You should also have admin access to the eCommerce site and the Facebook shop, if you plan to integrate it with the latter.
-
Your account and shop should provide accurate information, such as pricing, product features, and availability.
Avoid posting misleading content to have a better chance of getting approved. Also, posting inaccurate information about your products or shop might lead to account penalties.
-
Only physical products are allowed.
Selling digital goods and services isn’t permitted at this moment.
-
Your Instagram account must have an established presence on Instagram.
Sometimes you can’t move forward with your application because Instagram tells you you must have an “established presence” on the platform.
If you see this message, your Instagram account needs to demonstrate trustworthiness. This usually happens to new versions or those that have very few followers. You may need to grow your Instagram account first.
While Instagram doesn’t require this explicitly, attracting more followers will help you establish a presence.
Is Instagram Shopping free of charge?
Yes. Setting up an Instagram shop is completely free. There are also no recurring fees to worry about.
Why influencers and content creators should consider having an Instagram Shop
While one could argue that Instagram shops are primarily intended for businesses, influencers and content creators can also take advantage of the shop’s features. It’s highly recommended they should.
How to Set Up Instagram Shopping
Unfortunately, starting a shop on Instagram is not so easy. After all, you will be building a storefront, and even though it’s a virtual one, you need to undergo a bit of a lengthy process to have it on your Instagram profile. It would be best to get things ready before starting to make the process much smoother.
But don’t despair. We’ve made this step-by-step guide on how to set up an Instagram shop. In this thorough but easy-to-follow tutorial, we’ve included everything you need to do to start a fresh storefront on your Instagram profile.
Before setting up an Instagram Shop
Before diving into the nuts and bolts of setting up your storefront, there are a few stuff you need to check first:
If you have answered “yes” to all of the above, then you are ready to start a storefront on your own account on the Instagram app. Follow the steps below to set up your Instagram shop.
Switch to Instagram Business Account
If you have a personal account on Instagram, you need to switch it to professional first.
With a professional account, you will have access to more tools such as insights and, of course, an Instagram shop. Only business accounts are eligible for the Instagram shop feature.
Do the following:
-
Step 1
Launch the Instagram app.
-
Step 2
Tap your profile icon to access your Instagram page.
-
Step 3
Tap the hamburger (three vertical lines) icon.
-
Step 4
Go to “Settings.”
-
Step 5
Select “Account.”
-
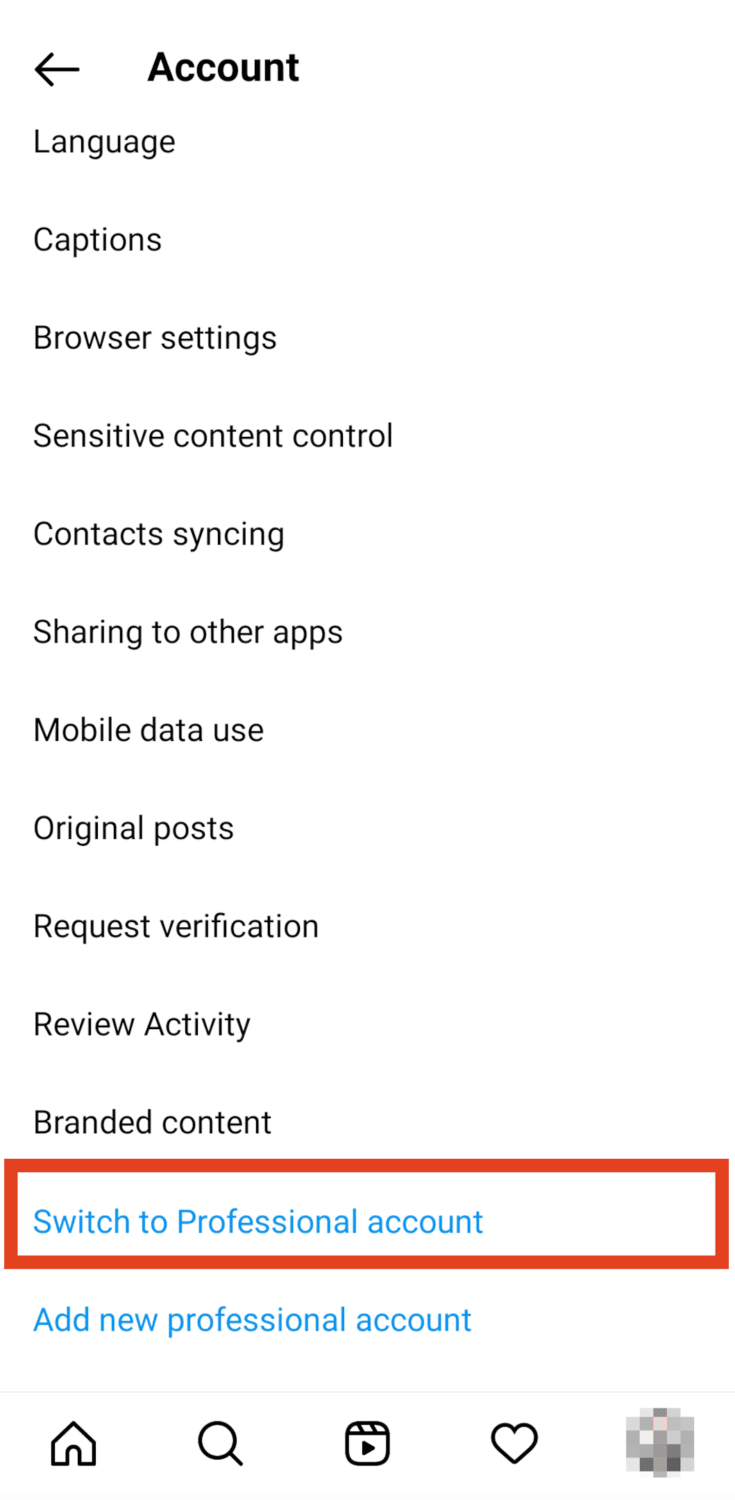
Step 6

Scroll down and choose “Switch to Professional account.” Follow the on-screen instructions to make the change.
-
Step 7
Select the category that best describes your brand or profile.
-
Step 8
You will be asked whether you’re a creator or a business. Select “Business.”
-
Step 9

You will be asked to provide your contact details on the next page.
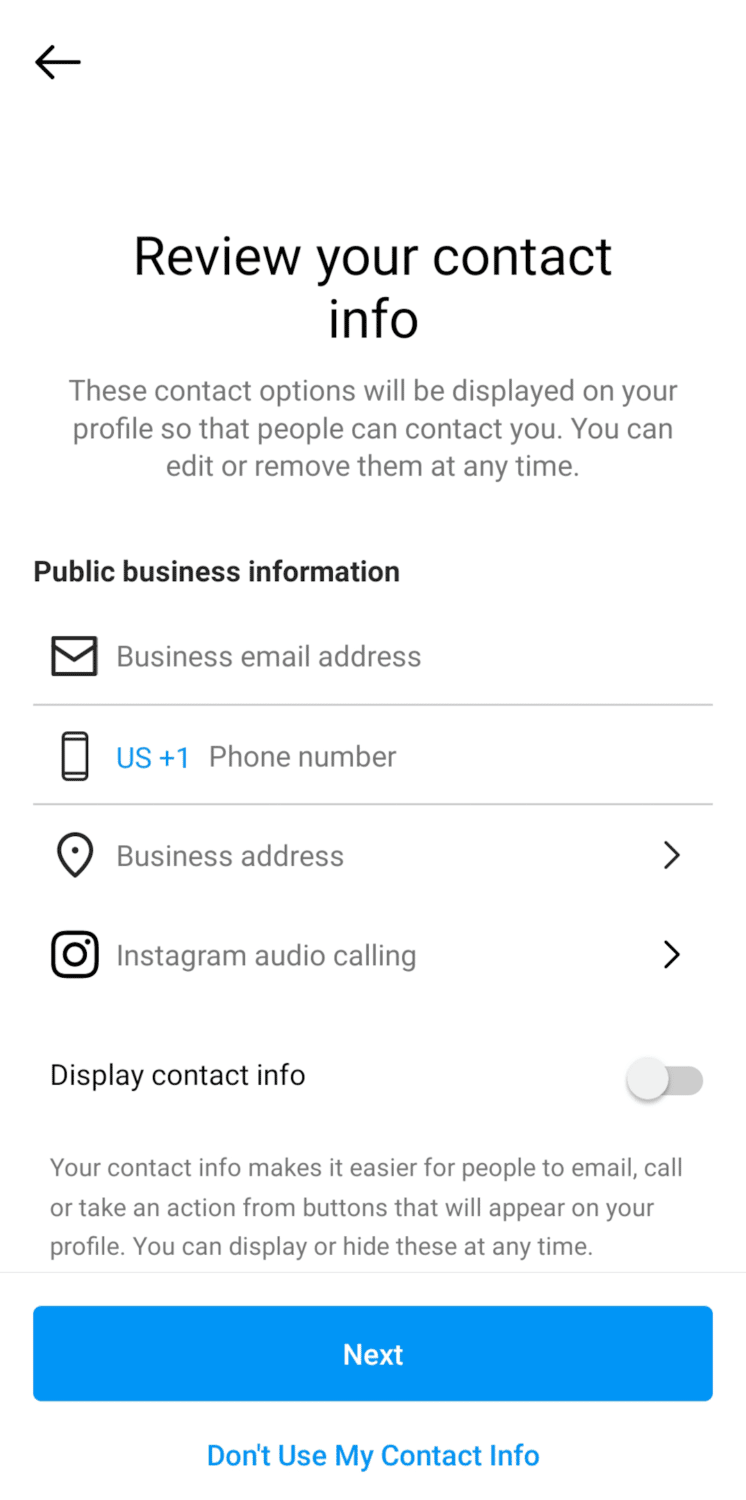
You can either fill in the needed information and hit “Next”, or choose “Don’t Use My Contact Info”.
Either way, you will be asked to connect a Facebook page to your Instagram account to set up a store.
If you prefer, just follow the on-screen instructions to create a new Facebook page. If not, you can skip this part.
You can connect a new Facebook page to Instagram later by going to Settings > Account > Business of your Instagram account.
Want to know more about an Instagram Business Account? Check out our other Guides:
Before, Instagram users are required to have a Facebook business page to run an Instagram shop. However, Instagram lets you immediately set up a storefront on the platform without connecting an existing Facebook page.
Setting Up Instagram Commerce Manager
After completing the steps above, you can set up an Instagram shop. Here’s how.
-
Step 1

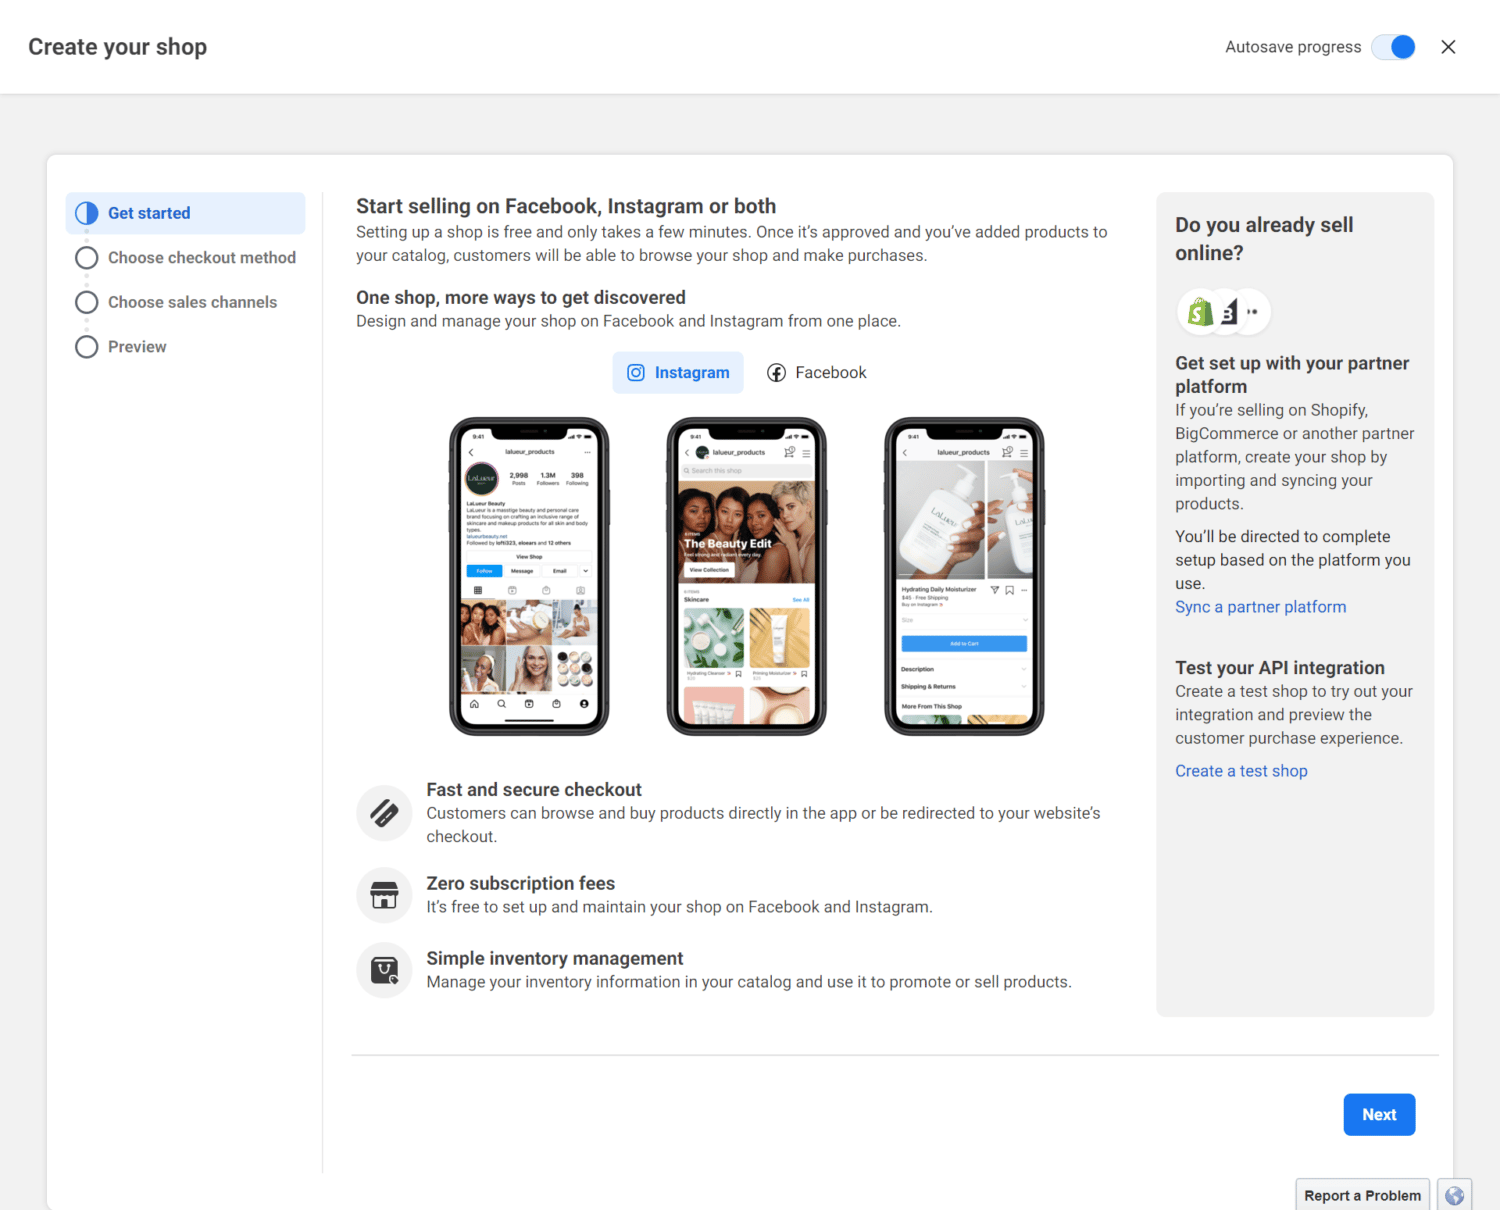
Go to Meta’s Commerce Manager landing page to start onboarding.
-
Step 2
You can choose to sell both on Instagram and Facebook, or select one. Click the tab of your preference.
-
Step 3
Choose a payment method for your buyers.
There are three methods to choose from Checkout on another website, Checkout with Facebook or Instagram, and Checkout with messaging.
With “Checkout on another website,” your customers will be redirected to your eCommerce website to view the product detail page and pay. Do note that you will need to have your own domain or website for this to work. You can set up one on platforms like Shopify and WooCommerce through WordPress.
As of December 2022, “Checkout with Facebook or Instagram” is only available to US residents.
While “Checkout with messaging” might look a lot easier since it will let your customers send a direct message to you or through WhatsApp, in our opinion, it’s not the most ideal. We recommend the first two methods discussed because they are more seamless and secure.
-
Step 4
Now, choose a sales channel to sell from. Make sure to select your Instagram business account.
If you can’t see your Instagram profile, you aren’t recognized as the admin of this account or have an established presence on Instagram yet. You may need to select another, more active account.
Click “Next.”
-
Step 5
Add products to your shop. You can create a new one on the Facebook Business Manager or import a product catalog from any of their partner platforms.
-
Step 6
Enter the countries your products can be shipped to.
-
Step 7
Review the details of your new shop, and then if everything’s good, hit “Finish setup.” Now, all you have to do is to wait while Instagram reviews your submission.
How long does Instagram shop review take?
The review process can take up to a few days. Although, according to Instagram themselves, it generally takes only seconds to get approved unless they need to review the application in more detail to ensure businesses meet their commerce eligibility requirements. You can check them out here.
How to Market Your Instagram Shop
Setting up your shop and getting approval from Instagram are just the first steps. Managing and marketing your Instagram shop are the most important parts of running a successful business on the platform.
Now that you’ve set up your Instagram shop, it’s time to start selling.
How to Highlight Your Products
Story highlights are extremely useful in promoting your products. More than 500 million Instagram users spend time on Stories per day, so it would be such a waste to overlook this feature as a marketing strategy.
Aside from that, highlights also help you categorize your products. It’s one of the first things a user will see when visiting your profile. Putting them into the Highlights section and categorizing them will help users browse and shop more seamlessly.
Highlighting your products is done in the same way as posting a story on Instagram, with the exception of turning it into one of your shopping posts. But with an Instagram story, you will have to do so with the use of product stickers.
Here’s how:
-
Step 1
Launch Instagram and create a new Story post by tapping the plus (+) icon.
-
Step 2
Select “Story.”
-
Step 3
Upload the photo with the product being featured.
-
Step 4
Choose the product sticker from the sticker menu and select the product/collection you want to tag.
-
Step 5
Tap “Done.”
-
Step 6
You can move the sticker anywhere around the picture by dragging it. Plus, you can change the sticker style as well with a tap. After you’re done, tap the left arrow (>) icon.
-
Step 7
Finalize some settings, including your audience, and tap “Share.”
-
Step 8
Don’t forget to tap “Add to highlights” and choose/create the category you want to put it into.
And you’re done!
How to Tag Your Products
You can also tag products on regular Instagram posts. Instagram stories (except Highlights) will vanish within 24 hours, so if you want it to be permanent on your profile, creating a shoppable post is the better option. Do the following:
-
Step 1
Launch Instagram and create a new post by tapping the plus (+) icon.
-
Step 2
Select “Post.”
-
Step 3
Choose the photo you want to upload, add filters, and make the necessary changes. After you’re done with the edits, tap the left arrow icon for Android or “Next” for iOS.
-
Step 4
Tap “Tag products” and select the products shown in the photo.
-
Step 5
Add other details, such as the caption. Review your post, and then tap the checkmark button to post.
That’s it! Your tagged products can now be seen by your followers and anyone who visits your profile.
How do I optimize my Instagram shop?
Here are some tips on how you can maximize the growth potential of your Instagram shop product catalog:
Examples of Instagram Shops
Need inspiration for your Instagram shop? We’ve scouted the platform to find some of the best Instagram shops you can take inspiration from, and here they are:
-
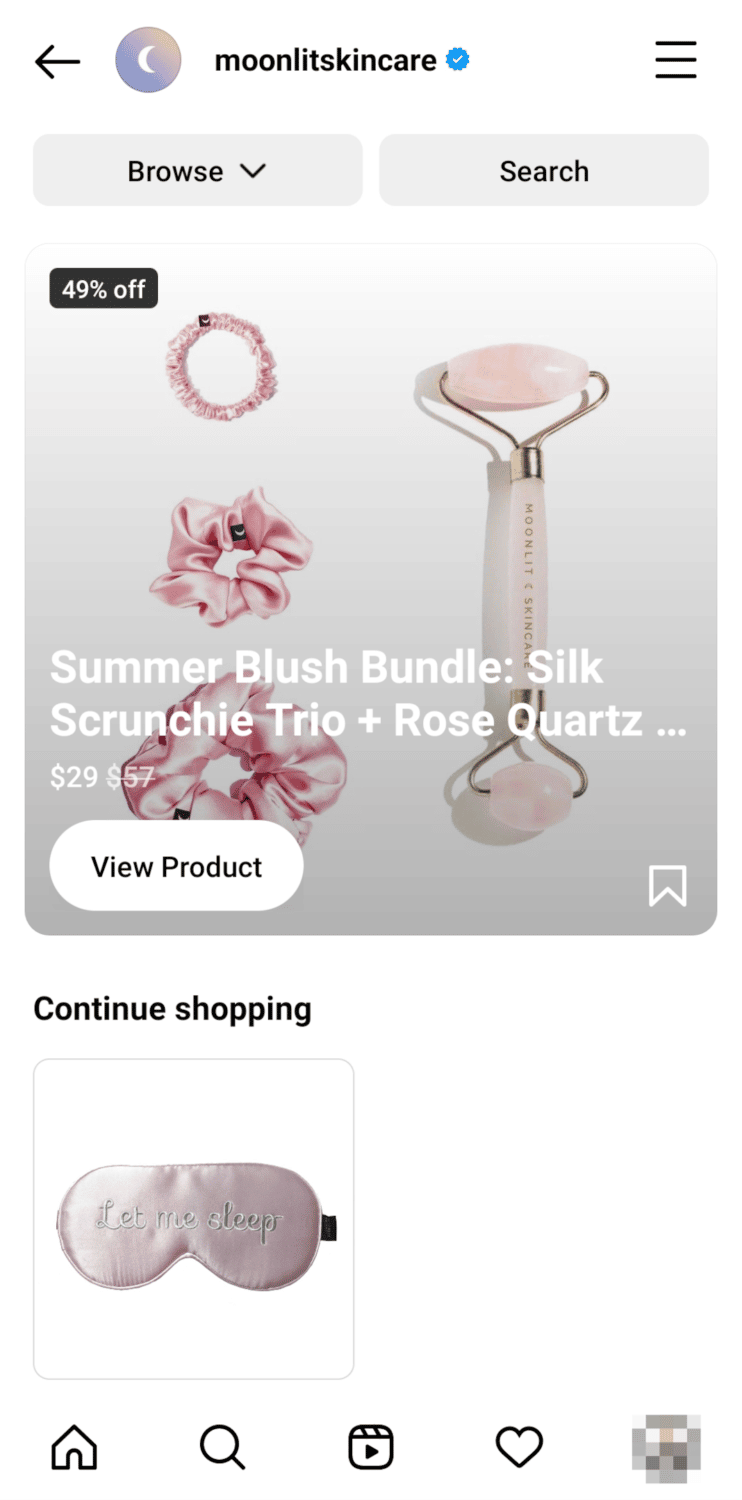
Moonlit® | Beauty Sleep

Moonlit is a beauty and skincare company. Their shop sells various products, such as sleeping masks, scrunchies, and pillowcases.
-
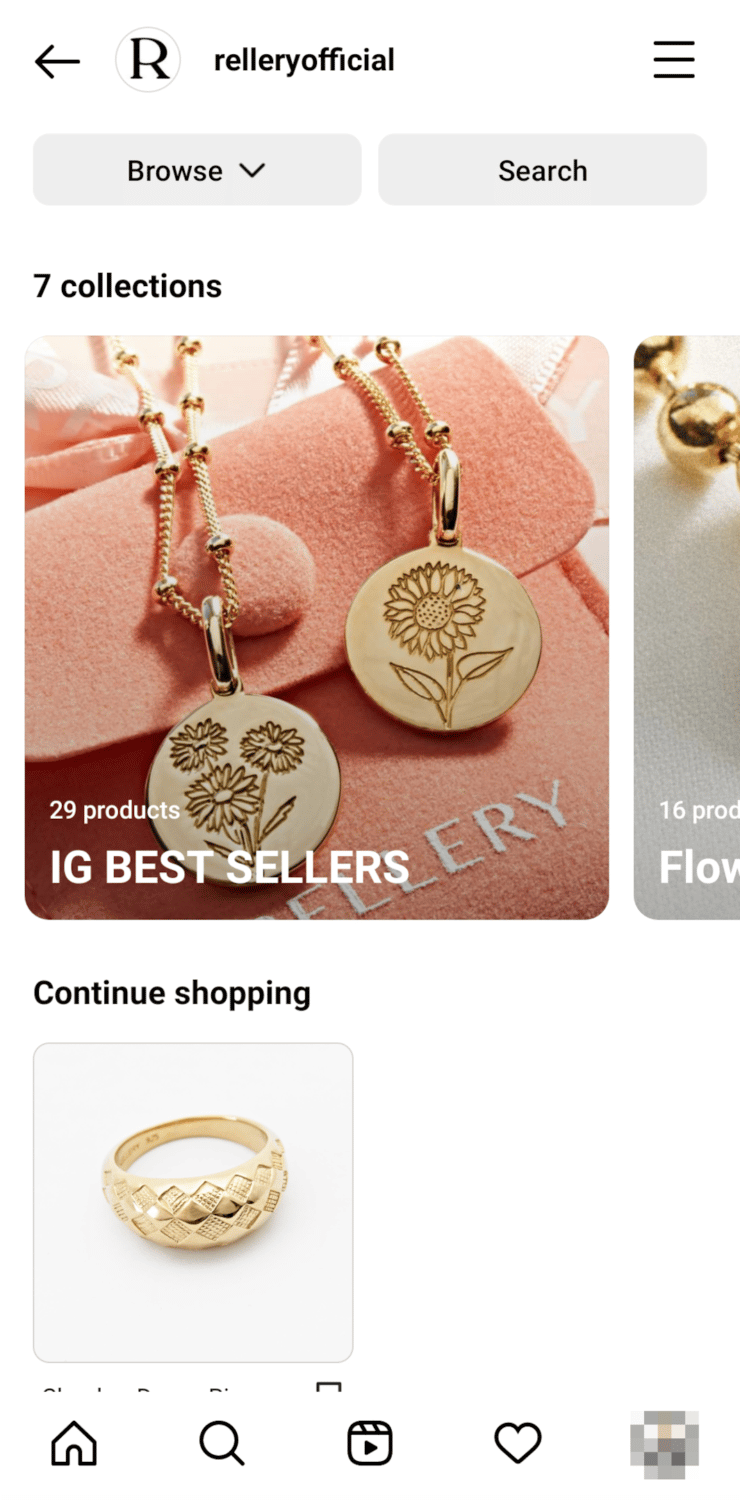
RELLERY

RELLERY is a fine jewelry establishment founded in Brooklyn, NY. Their shop features exquisite earrings, necklaces, pendants, and more.
-
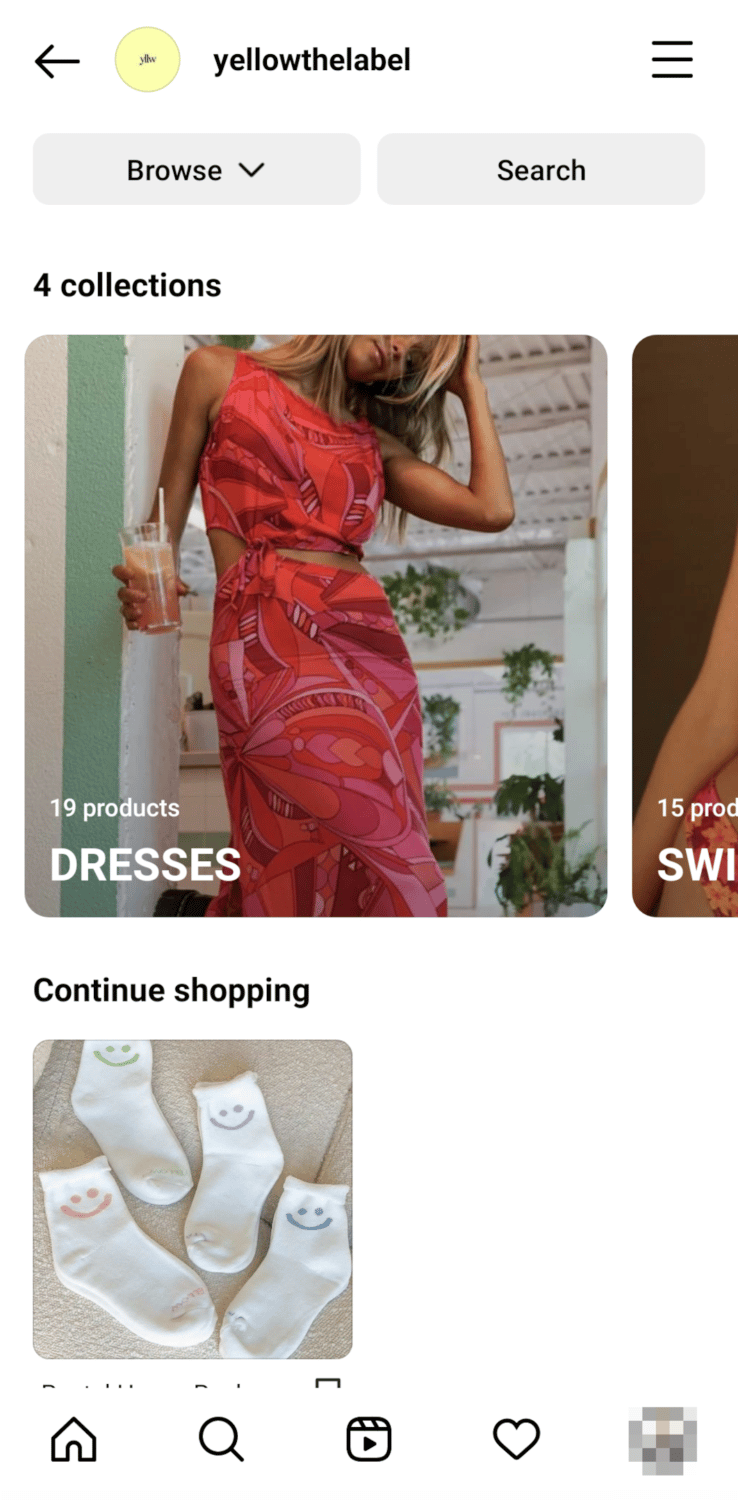
YLLW The Label

YLLW (Yellow) The Label is a clothing apparel brand. They have a wide variety of products organized into categories and collections.
-
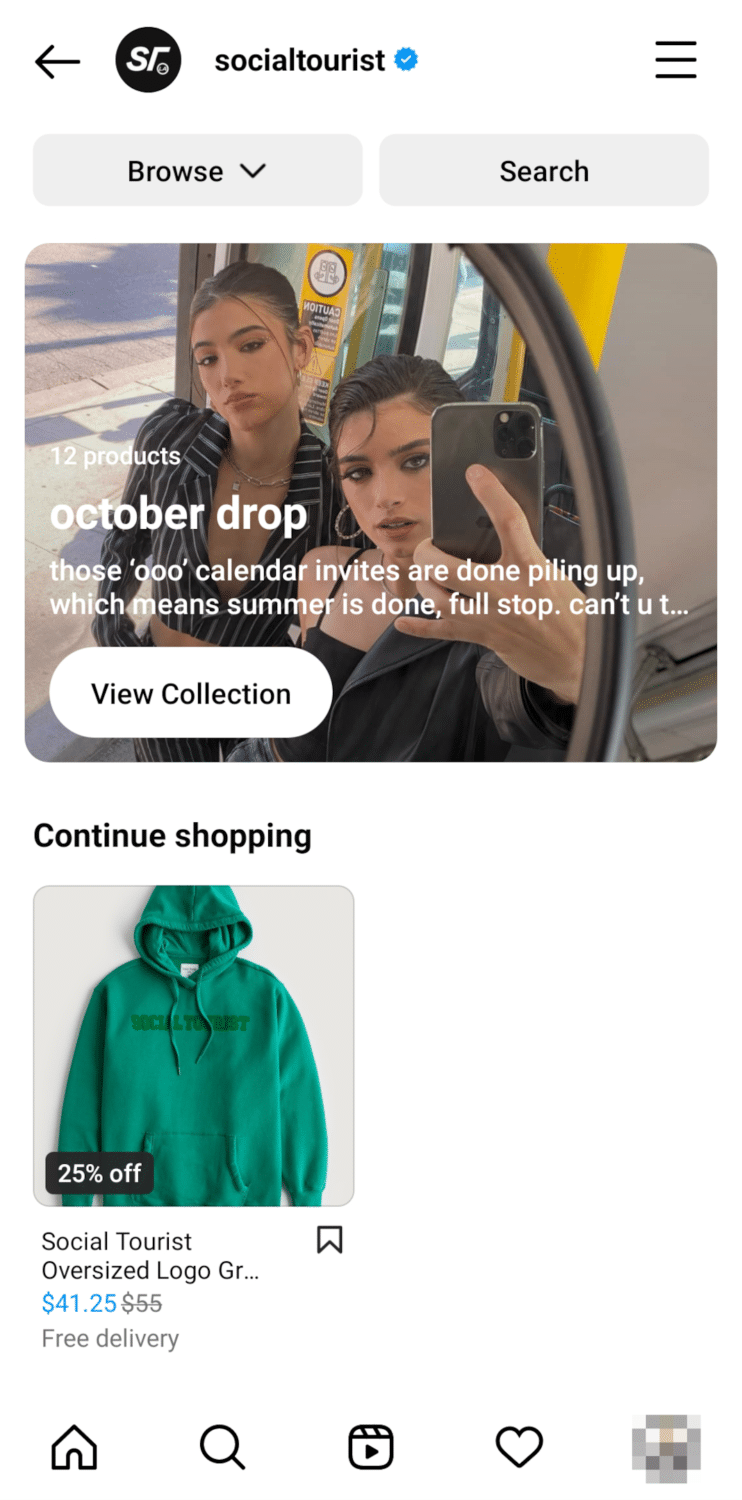
Social tourist

social tourist is a fashion brand by the social media influencers Dixie and Charli d’Amelio. It features hoodies, beanies, and even water bottles, among various merch.
-
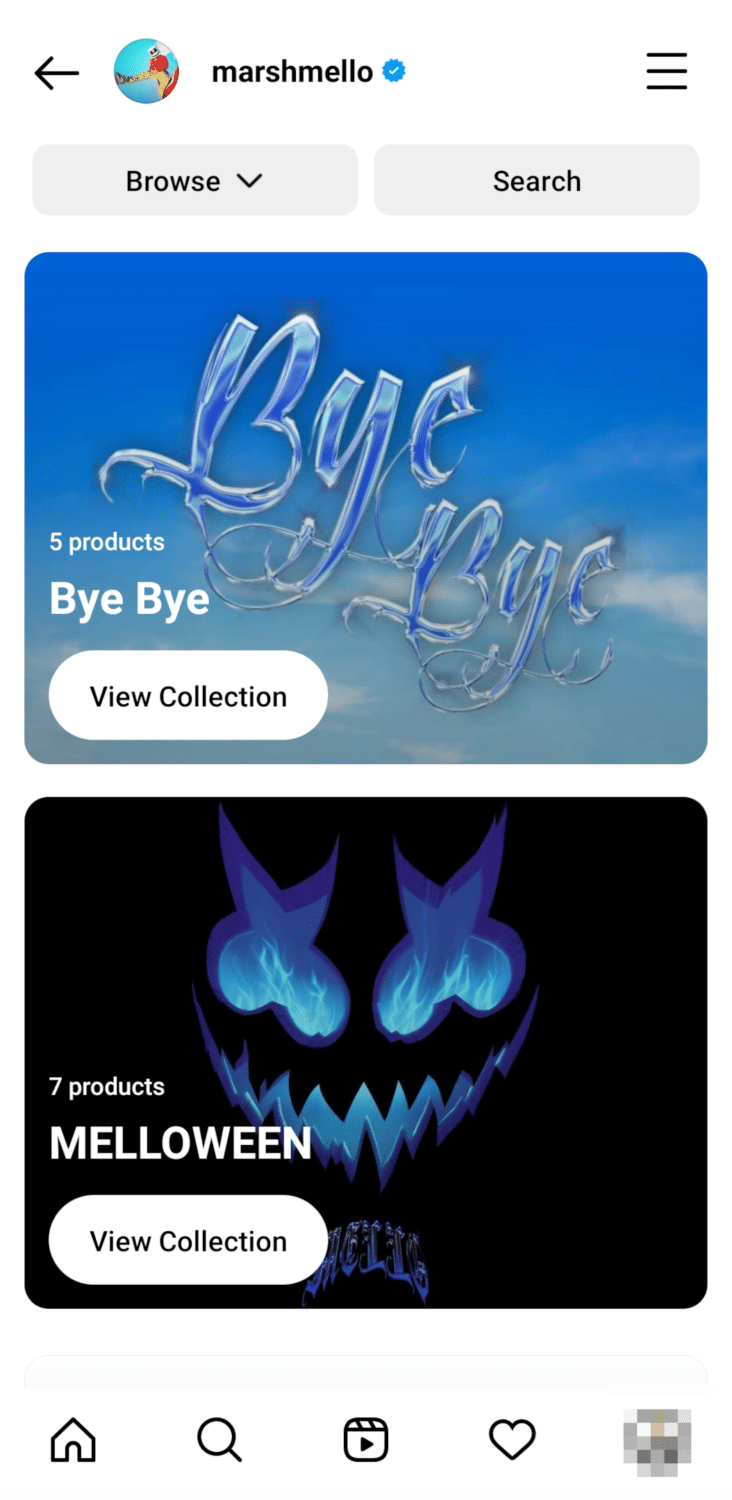
Marshmello

American music producer and DJ Marshmello has a merch store right on Instagram. You can check out his Instagram shop for various goodies, including his signature Mello helmet, hats, hoodies, and more.
Best Instagram Shop Niches
You can sell many things in your Instagram shop, but the niches below stand out from the crowd. If you’re thinking of starting a shop on Instagram, here are the three most profitable niches:
-
Apparel and Accessories
Clothing is at the top of the most profitable niches on Instagram shopping. Aside from the fact that it can be easier to produce than other items like jewelry and cosmetics, there is almost a never-ending demand for everyday wearables.
Apparel like shirts, hoodies, beanies, blouses, skirts, pants, and even baby wear are just some of the most popular merch to be seen on virtual storefronts. With accessories and other everyday items like mugs, tumblers, and bags, your fans will have a wider variety of merch to choose from.
-
Beauty Products
Without a doubt, beauty products are among the most sought-after items on Instagram shopping, and there’s a reason why. People seem to have more confidence in beauty products if they are endorsed by an influencer they trust.
-
Jewelry
This may come as a surprise, but lots of people browse Instagram to shop for jewelry. Being a platform that focuses on visuals, Instagram is arguably the best place to showcase your jewelry, not only because it allows you to do so in a presentable and classy manner but because it’s convenient for everyone.
Frequently Asked Questions
How do I enable Instagram Shopping?
First, switch your Personal account to a Business or Creator Account to enable Instagram shopping. Then, head over to the Meta Commerce Manager to set up your Instagram shop. You can set up shops for Facebook and Instagram on this website. Scroll back to the top to see the full guide.
Why am I not eligible for an Instagram shop?
Instagram will have to approve your account first to allow you to set up a shop. First, you need to meet certain requirements, like having an established Instagram account and having your own website, in order to qualify. For the full list of Instagram Shopping requirements, head over to the top.
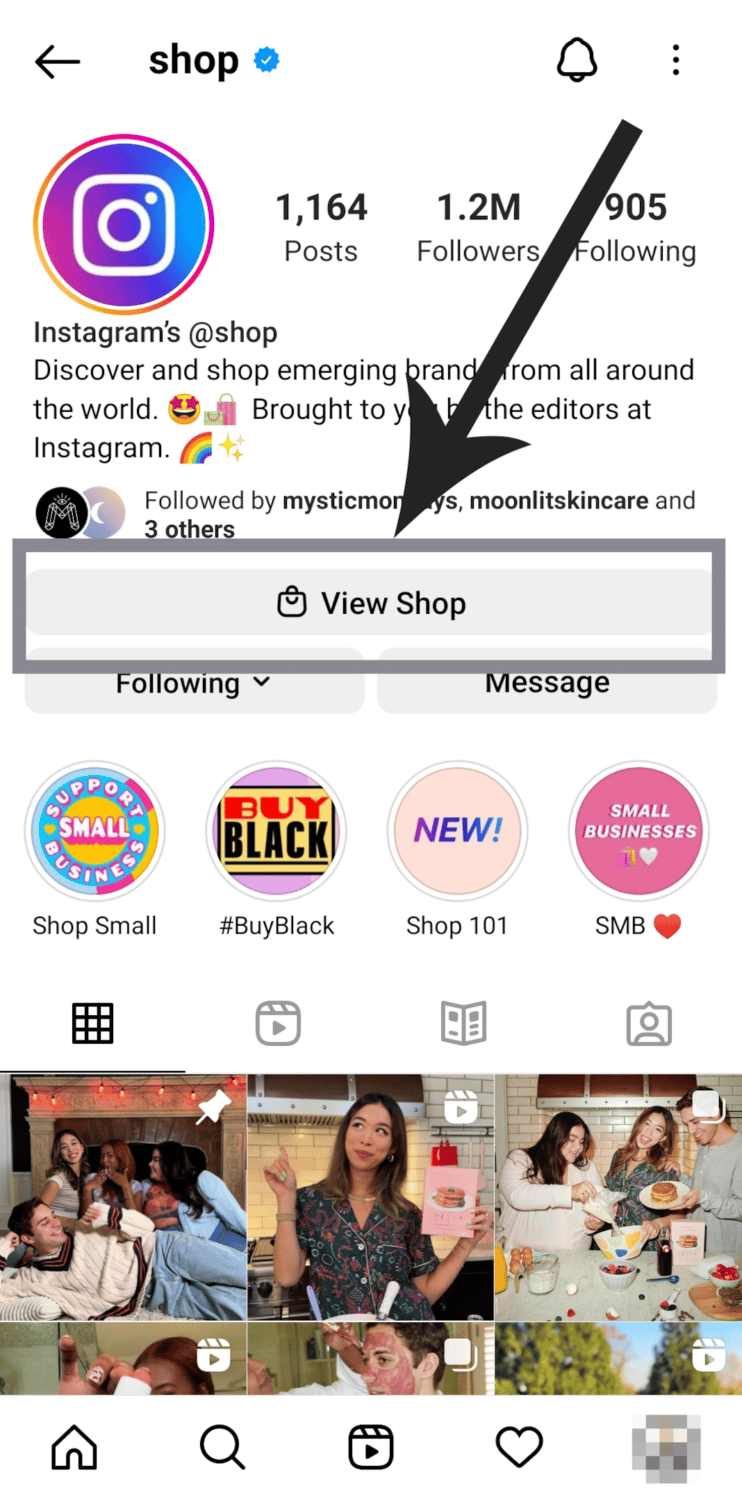
Where has the Shopping tab gone on Instagram?
The Instagram Shop tab, which used to be located next to the profile tab, was removed by Instagram last September 2022. According to reports, Meta had removed the shopping tab to shift their priorities towards ad revenue.
There’s still a way to browse shops on Instagram, though. By visiting Instagram’s @shop profile, you can view “emerging brands from all around the world.” This account is maintained and curated by Instagram editors themselves.